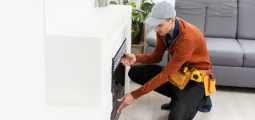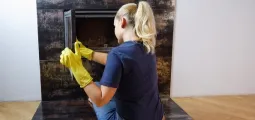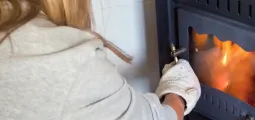
A few quick answers help us understand your home, so we can give you a clear, upfront quote for Wood Stove Repair Delta
Questions about safety, cost and timing come up whenever a homeowner thinks about a fireplace or stove. If you landed here after searching for “wood stove repair”, you will find those questions answered one by one, in roughly the order most people ask them. The focus is on wood-burning stove repair for homes in Delta, with honest detail about what a technician does, what affects the work and what you can safely handle between visits.
Odor in warm months is one of the most common calls we get, and the cause is nearly always creosote reacting with humidity. Those deposits absorb moisture and release a stale campfire smell, which drifts indoors whenever the house draws air down the flue. We clean the flue to remove the source, check whether the damper seals and look at the cap, since rain soaking into soot makes things noticeably worse. In homes around Delta where the problem keeps returning, a top-sealing damper that closes at the very top of the chimney is often the change that settles it.
A stove that burns too hot or too fast is usually getting more air than it should. The common causes are a worn door or glass gasket, a warped door, a damaged air control, a missing or cracked baffle and gaps in the stove body. A very strong chimney draft can add to the problem. Signs include a fire that roars even with the air turned down, glowing parts and wood disappearing much faster than usual. Running a stove this way can warp parts and overheat nearby materials, so a “wood stove repair” check is worth booking before the next long burn.
Most warning signs trace back to air leaks or heat damage, and those are what we look for first. A stove controls its fire by controlling air. When the door gasket flattens, the glass rope loosens or a seam opens up, extra air sneaks in, the fire runs hotter than intended and parts start to warp. A smoke smell, sooty streaks around the door and a stovepipe that glows or discolors are other clues. We also look for gaps between firebricks, which let heat reach the metal shell behind them. Caught early, these are routine fixes; left alone, they turn into bigger jobs.
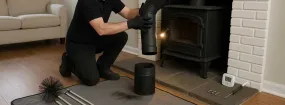
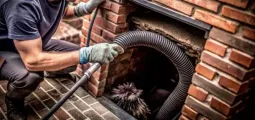
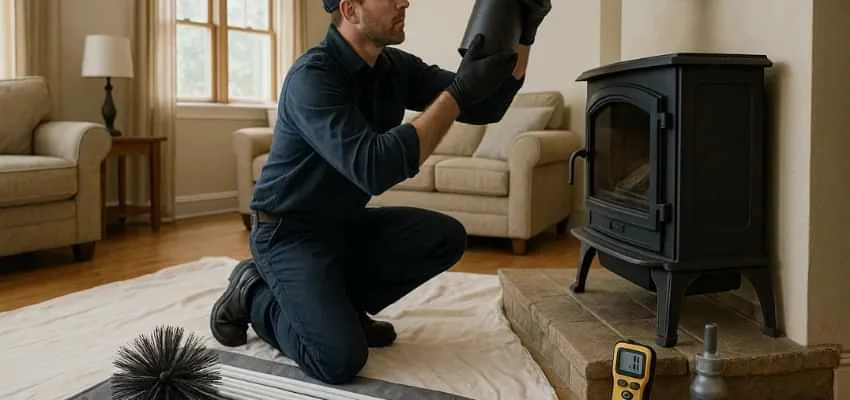
A wood stove is cleaned from the firebox outward, and the stovepipe gets as much attention as the chimney because it often holds more buildup. Elbows and horizontal runs are the usual trouble spots. We clear the ash and open up the firebox, removing the baffle so we can reach the flue collar. Depending on the setup, we brush the pipe in place or take it down, clean it outside and reinstall it with secure joints. The chimney is brushed through its full height. Before leaving, we check the gaskets, firebrick and air controls and wipe the glass so you can see the flames again.
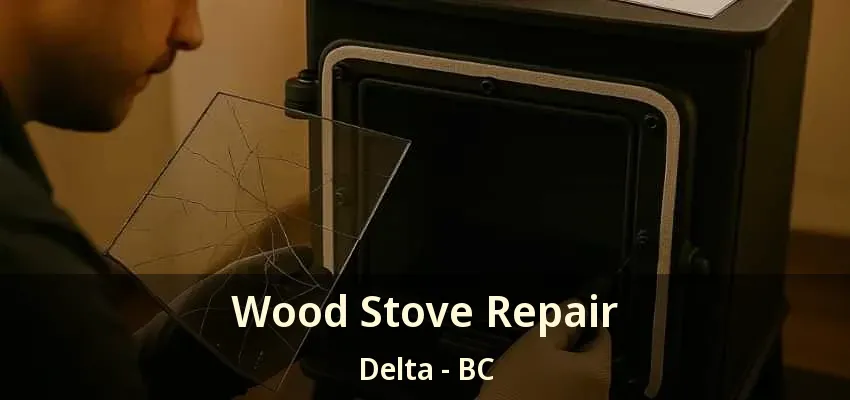
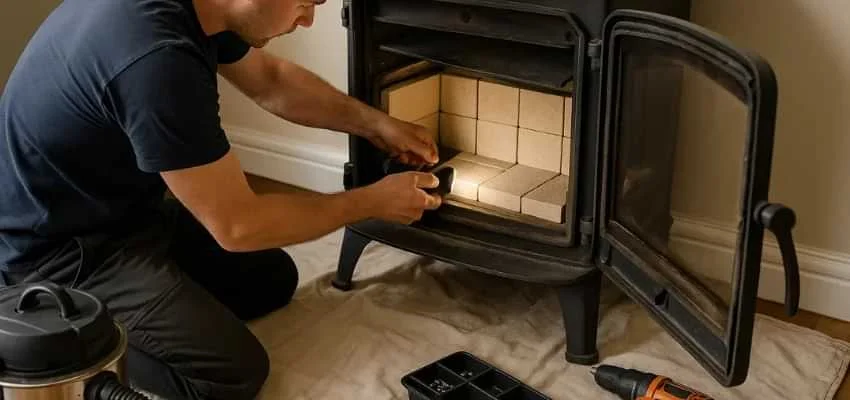
The most common wood stove repairs involve parts designed to wear: door and glass gaskets, firebricks, baffles, glass and stovepipe. Gaskets are fiberglass rope seals that flatten over time and let air leak in, so they are replaced in the correct size with a high-heat cement. Cracked firebricks are swapped out, warped baffles or burn tubes are replaced, and broken glass is replaced with heat-rated ceramic glass, never ordinary window glass. Rusted or loose stovepipe is renewed and secured. Some stoves also have a catalytic combustor that wears out with use and needs replacing to keep burning cleanly.
The old rope gasket is pulled out of its channel, and the channel is scraped clean of old cement. A new fiberglass rope of the correct diameter and density is set into a bead of high-temperature gasket cement, pressed into place and trimmed so the ends meet without overlapping. The door is then closed to seat the rope, and the stove is run with small fires at first while the cement cures. A simple test afterward is closing the door on a strip of paper: it should be hard to pull out at several points around the door.
A routine cleaning or inspection usually takes about one to two hours, and a combined sweep and inspection can run a little longer. Time depends on how much creosote has built up, how tall the chimney is, whether the roof has to be accessed and whether a stovepipe must come apart. Glazed deposits and any small repairs agreed on during the visit add time, while larger masonry work is normally scheduled separately. Plan to be home for the whole visit and allow a few minutes at the end to go over the findings. Describing your setup when booking helps the company estimate the time.
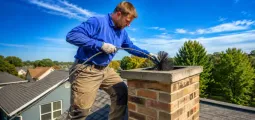
It depends on the chimney, and the decision is made on the day. Plenty of flues are swept from the firebox upward with rods, which keeps us off delicate roofing. We still like to see the top, because the cap, the crown and the last few feet of flue are where weather and animals cause trouble. On steep or slippery roofs, we may set a ladder at the eave and use a camera instead of walking the surface. Rain, ice and strong wind mean the roof portion waits for a better day. Either way, you should hear what the top looks like, not just the bottom.
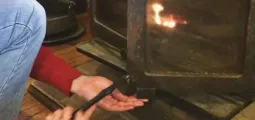
It varies with the material, and we give every customer a specific answer before we leave. Mortar holds moisture after it is laid, and a roaring fire drives that water out too fast, which can crack fresh joints or pop new firebrick. That is why we suggest waiting through the full cure period and then building a few small, short fires to bring everything up to temperature gradually. Stove repairs follow the same idea on a smaller scale: a new rope gasket, for example, settles in over a couple of gentle burns. Caps, screens and dampers can be used immediately.
We would rather explain one thing clearly than list ten things you do not need. Ask us what matters for your home in Delta and we will give you a straight reply. Get in touch with Chimney Sweep Delta whenever you are ready.
Clearer draft, cleaner flue: Chimney Cleaning for Delta homes
Enjoy the fire after Chimney Sweep in Delta
Complete Chimney Sweep Services for Delta homeowners
Wood units, stoves and inserts: Fireplace Experts serving Delta
Fireplace smell at startup? Gas Fireplace Cleaning in Delta
Burner ports, pilot hood, glass: Gas Fireplace Maintenance around Delta